Introduction
Self-awareness—the ability to recognize one’s own emotions, strengths, challenges, and sensory experiences—is a foundational skill for emotional regulation, social interaction, and academic success. For children on the autism spectrum, self-awareness often does not develop intuitively; many struggle to identify internal sensations (interoception), label emotions, or understand how their behaviors impact others. Without explicit instruction and repeated practice, these gaps can lead to heightened anxiety, meltdowns, or confusion in social settings.
This 1,500-word guide will explore why self-awareness is critical in autism education, outline guiding principles for adapting interventions, and present evidence-based strategies, activities, and lesson-plan integrations. By the end, parents, teachers, and therapists will have a comprehensive toolkit to help autistic children become more attuned to their own thoughts, feelings, and sensory cues—paving the way for greater independence, confidence, and meaningful connections.
1. Why Self-Awareness Matters for Children with Autism
1.1 Emotional Regulation and Reduced Anxiety
Autistic children often experience heightened sensory sensitivity and emotional intensity. If a child cannot recognize that their heart is pounding or that they are feeling overwhelmed, they cannot apply coping strategies before emotions escalate. Developing self-awareness allows them to notice early warning signs—racing thoughts, tense muscles, or a “knot” in the stomach—and implement calming techniques (deep breathing, sensory breaks) proactively.
1.2 Social Reciprocity and Perspective-Taking
Understanding one’s own feelings is a prerequisite to recognizing others’ emotions. When children learn to label “I feel frustrated,” they are better positioned to notice that a peer feels sad or angry. This foundational insight supports perspective-taking, reduces social misunderstandings, and fosters empathy.
1.3 Academic Engagement and Task Planning
Many academic tasks require monitoring one’s own focus (“I am getting distracted”) and adjusting behavior (“I need to take a short break”). Without self-awareness, a child might not realize they have lost attention until it’s too late—resulting in incomplete work or off-task behavior. Instruction in self-monitoring helps students pause, identify distractors, and re-engage.
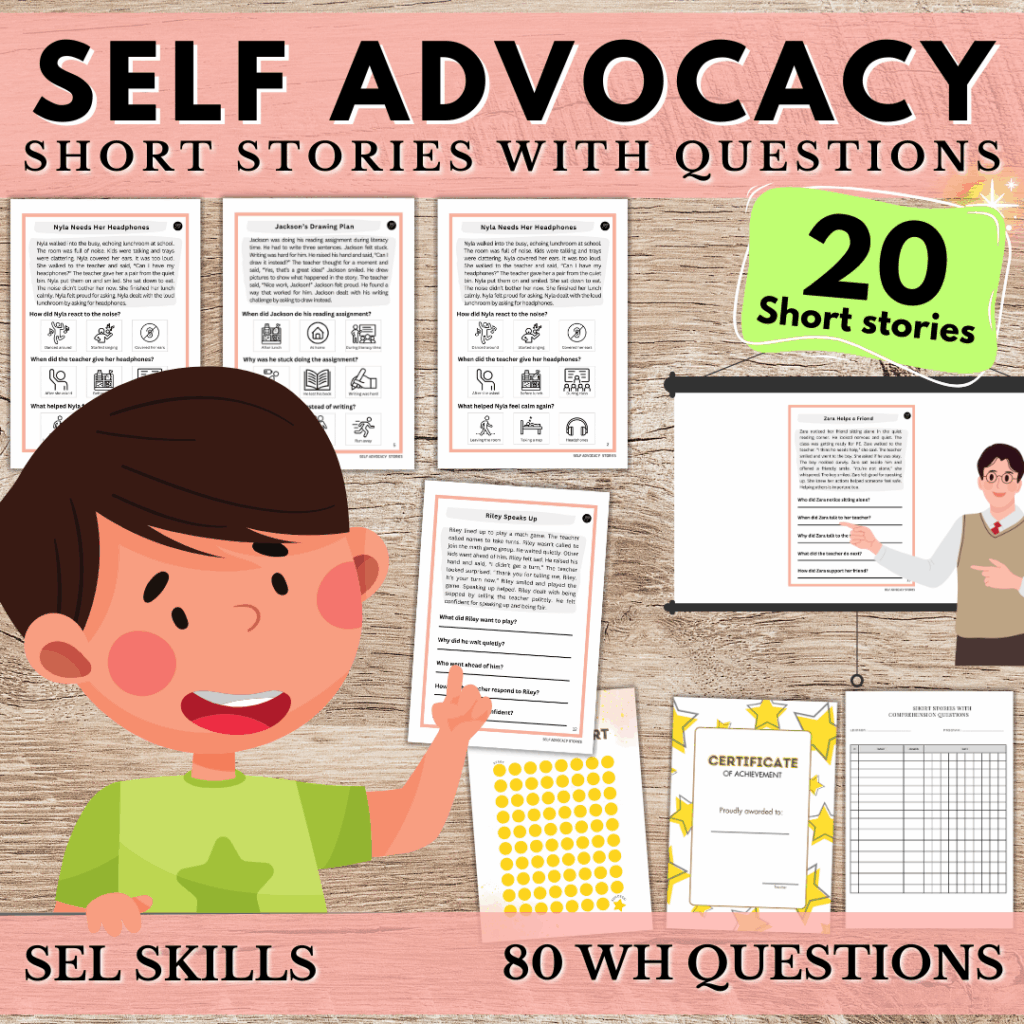
1.4 Building Self-Advocacy and Independence
As children grow, they need the ability to request sensory accommodations, ask for help when frustrated, or communicate when they do not understand. A child who recognizes “My ears hurt from the noise” can request headphones; a student who knows “I get upset when I don’t know what’s next” can ask for a schedule. These self-advocacy skills emerge directly from self-awareness.
2. Principles for Adapting Self-Awareness Instruction in Autism
2.1 Use Concrete, Multimodal Approaches
Abstract language (“pay attention to your inner world”) is often challenging. Instead, employ concrete, sensory-based activities—visual supports, tactile tools, and simple metaphors. For example, compare emotions to colored balloons inside the body: when anger is a red balloon, the child can “let air out” by stretching or doing three deep breaths.
2.2 Keep Lessons Brief, Structured, and Repetitive
Attention spans can vary widely. Begin with 1–2 minute activities, gradually building to 5 minutes. Embed repetition daily—short morning check-ins, mid-morning body scans, and afternoon emotion check-outs. Consistency and predictability reinforce learning and reduce resistance.
2.3 Embed Self-Awareness in Functional Contexts
Rather than standalone “self-awareness lessons,” integrate activities into morning routines, transitions, and academic tasks. For instance, when lining up, prompt students to notice how their feet feel on the floor or ask “What are you feeling right now?” as part of pre-task preparation.
2.4 Collaborate Across Settings
Self-awareness should generalize from school to home. Share visuals and scripts with families: if the classroom uses a five-finger check to label emotions, parents should use the same cue. Consistent language across home, school, and therapy ensures skills transfer and avoids confusion.
2.5 Individualize Based on Sensory Profile and Communication Abilities
- Sensory-Seeking Students: Offer heavier tactile tools (weighted lap pads) during body scans to help them feel internal sensations.
- Sensory-Avoidant Students: Use gentler cues—soft feather touches on forearm to promote body awareness rather than full-body touch.
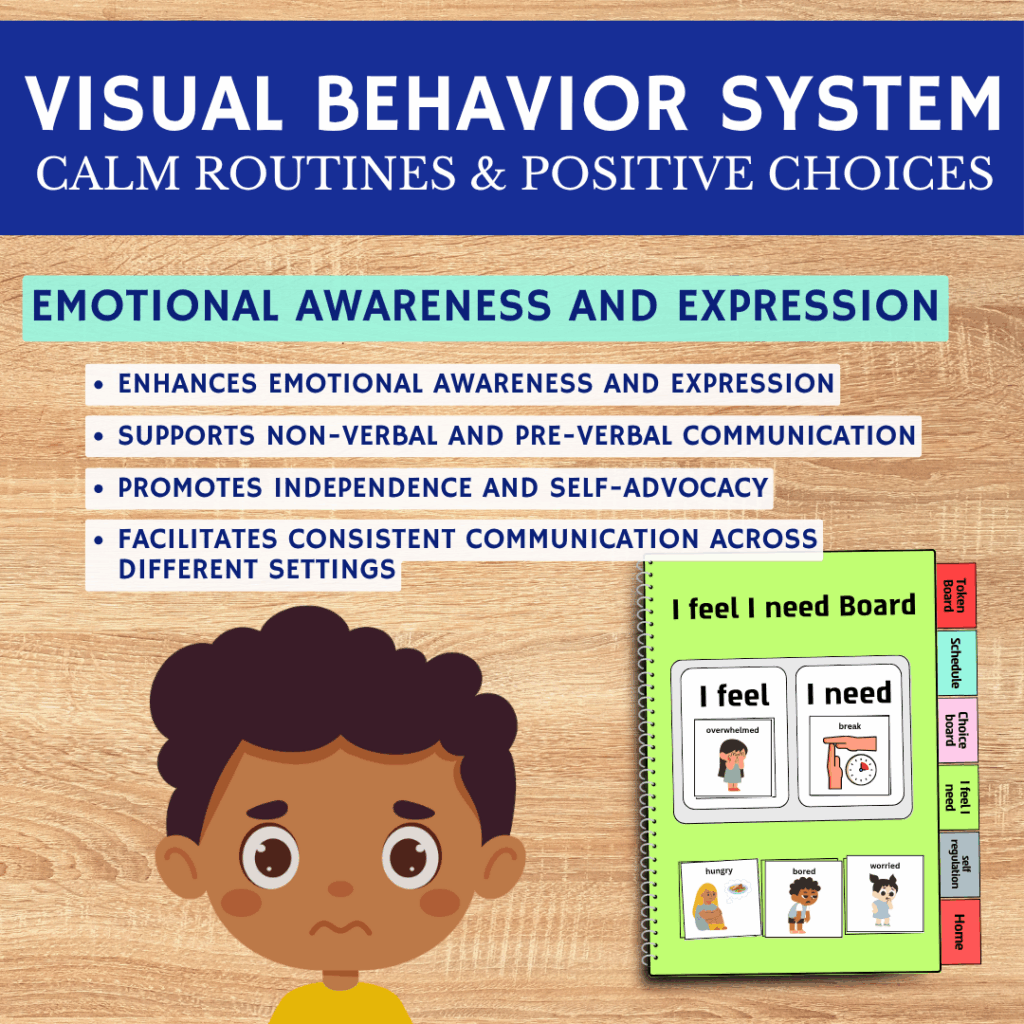
- Nonverbal or Minimally Verbal Students: Rely on AAC devices, picture cards, and sign language. A “my feelings” board with twenty icons can enable a child to point to “happy,” “sad,” or “overwhelmed.”
3. Core Strategies & Activities to Improve Self-Awareness
Below are eight concrete strategies—complete with materials, step-by-step procedures, and adaptation suggestions—that can be implemented immediately.
3.1 Guided Body Scan with Visual Posters
Materials: Poster of a simple cartoon body divided into zones (head, shoulders, arms, chest, stomach, legs, feet); pointer stick or soft tactile cue.
Procedure:
- Positioning: Have students sit comfortably at their desks or on the floor. Display the body-poster at eye level.
- Grounding Prompt: Say, “Turn on your listening ears. Let’s notice our bodies.”
- Step-by-Step Scan: Using the pointer, guide students:
- “Notice your head: is it tense or relaxed?” (Pause 3–5 seconds)
- “Move to shoulders: are they tight or loose?”
- Continue through chest, stomach, arms, legs, feet—pausing at each for 3–5 seconds.
- Verbal Label: After each zone, prompt students to choose between two simple descriptors (“tight” or “loose,” “hot” or “cold,” “still” or “wriggly”). For nonverbal learners, offer a two-choice card or allow them to point.
- Closure: “Great job noticing your body. Now, when you feel tight anywhere, you can take three deep breaths.”
Adaptation Notes:
- Shorten to three zones for children who lose focus quickly (e.g., head, shoulders, stomach).
- Use Tactile Cues: For students needing more sensory input, gently tap each body part as you mention it.
- Pair with Breathing: At each pause, cue one deep breath—“In for 3 counts, out for 3 counts” if students can tolerate a slightly longer activity.
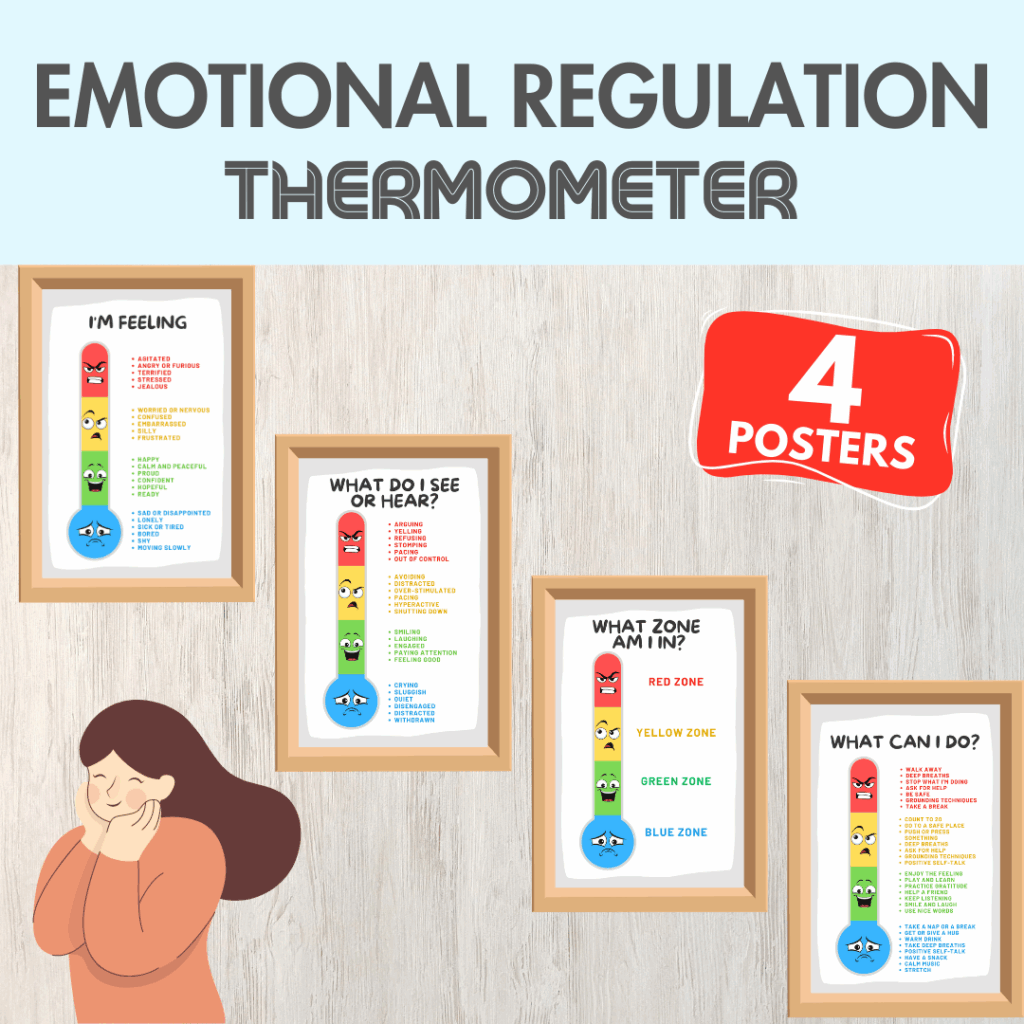
3.2 Emotion Thermometer (Visual Scale)
Materials: Laminated strip showing a vertical thermometer with five colored zones labeled:
- Calm (Blue)
- Okay (Green)
- Alert (Yellow)
- Stressed (Orange)
- Overwhelmed (Red)
Attach a movable arrow or use a clothespin.
Procedure:
- Introduce the Scale: Show each color and label—for example, “Green is okay; yellow is starting to feel upset.”
- Daily Check-Ins: At a set time (e.g., morning circle, mid-morning), ask each child to place their clothespin on the color that matches how they feel. Encourage short verbal or AAC responses: “I’m yellow (Alert).”
- Paired Reflection: For children in yellow or above, ask: “What is making you feel Alert? Can you change to Blue by taking three breaths?” Offer a brief breathing or sensory tool.
- End-of-Day Check-Out: Repeat at dismissal: “How do you feel now? Place your arrow.”
Adaptation Notes:
- For nonverbal children, allow them to simply point to the color. Later, introduce AAC phrases (“I am calm,” “I am stressed”).
- If colors are too abstract, replace them with simple faces (smiling, neutral, frown, big frown).
- Gradually fade adult prompting for independent placement as students learn the concept.
3.3 Mirror Play and Facial Recognition
Materials: Handheld mirrors, laminated emotion-face cards (happy, sad, surprised, angry, scared).
Procedure:
- Modeling Emotions: Hold up a “happy” face card and make the same facial expression. Say, “This is happy. Watch me smile.”
- Mirror Practice: Give each child a mirror. Cue: “Can you make your face look happy? Good—now point to happy on your card.”
- Identify Differences: Show two cards (e.g., happy vs. sad) and ask children to match their facial expression in the mirror to one of the cards.
- Connect to Self: Ask, “When do you feel happy? Show me that face.” Encourage a brief mention or AAC response (“When I play with blocks”).
Adaptation Notes:
- For children with aversion to mirrors, use a tablet camera in selfie mode so they see a softer reflection.
- Keep sessions short—3–4 minutes—and gradually increase duration as tolerance builds.
3.4 Video Modeling for Self-Reflection
Materials: Short video clips (30–45 seconds) of a peer or adult calmly identifying sensations and emotions (e.g., “My stomach feels weird, I’m hungry”). Ensure subtitles or simple captions accompany audio.
Procedure:
- Pre-Teach: Briefly describe what students will watch: “We will see Jonny talk about how his body feels.”
- Watch and Label: Play the video. Pause at key moments: “What did Jonny say about his stomach?”
- Role-Play: After viewing, have students imitate Jonny’s statements: “My stomach feels weird, I’m hungry.” Use sentence strips for those who need more support.
- Generalize: Later in the day, prompt students: “Remember how Jonny said he was hungry? Is your stomach weird?” Encourage self-reporting.
Adaptation Notes:
- If audio is challenging, rely on captions or add a simple text script.
- For nonverbal students, provide an AAC phrasebank mirroring Jonny’s phrases.
3.5 Sensory “Body Journal” with Drawing and Labels
Materials: Small spiral-bound notebooks labeled “My Body Journal”; colored pencils; pre-printed body outlines on some pages.
Procedure:
- Prompting: After a sensory activity (e.g., playground time), say: “Let’s check our bodies. How do you feel?”
- Drawing Phase: Provide time (2–3 minutes) for students to draw a simple face with the emotion they felt during play. On the body outline pages, they can color in zones where they felt sensations (e.g., red on chest for a “racing heart”).
- Labeling: Encourage them to write or use AAC to add one-word labels: “happy,” “tired,” “hot.” For early writers, provide a word bank.
- Share-Out (Optional): Children who feel comfortable can share drawings briefly (“I felt tired, so I colored my legs blue”).
Adaptation Notes:
- For non-readers, use a sticker system: a set of pre-made emotion stickers they place on their drawing.
- Keep pages simple—one body outline per page—to avoid overwhelm.
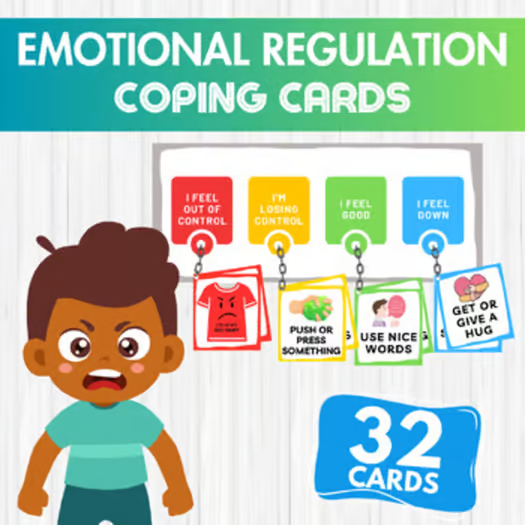
3.6 “Feelings Thermometer” with Physical Tokens
Materials: A large poster divided into five horizontal zones like a thermometer (labeled Calm, Okay, Alert, Stressed, Overwhelmed) and five corresponding tokens (e.g., blue pom-pom for Calm, red for Overwhelmed).
Procedure:
- Introduction: Teach each zone’s meaning with relatable examples: “Blue means I feel calm, like when I read a book quietly.” “Red means overwhelmed, like when the fire alarm goes off.”
- Token Placement: At scheduled times (after math, after lunch), give each child a token matching how they feel physically. For instance, if a child’s hands are shaking, that might correlate to “Stressed (Orange).”
- Strategy Pairing: For tokens in “Alert” or above, immediately guide them to a quick coping tool—bubble breathing or pressing a stress ball.
- Review: At day’s end, review tokens: “Yesterday, you were yellow at recess. What did that feel like? How did you change to green?”
Adaptation Notes:
- For students sensitive to handling objects, allow them to point to the zone instead of picking a token.
- Use magnets and a whiteboard to minimize small-object challenges.
3.7 Mindful Movement and Guided Yoga for Interoception
Materials: Yoga mats or designated floor space; simple visual cue cards showing one yoga pose each (e.g., “Tree Pose,” “Cat-Cow,” “Child’s Pose”).
Procedure:
- Brief Explanation: “We’re going to stretch and notice how our bodies feel.”
- Pose-by-Pose Guidance: Guide students through 3–4 basic poses:
- Tree Pose (balance on one foot): “Feel your foot pressing into the mat. Notice your standing leg. How do you feel?”
- Cat-Cow (on hands and knees): “Arch your back (cat), then dip it (cow). Feel your spine move.”
- Child’s Pose: “Sit back on your heels, bring your head down. Notice how your back muscles stretch.”
- Interoceptive Labels: After each pose, ask: “Can you feel your heart? Is it beating fast or slow?” Provide two-choice cards if needed.
- Closing: “Sit quietly for one breath and notice how your body feels now compared to before.”
Adaptation Notes:
- For children who struggle with balance, modify Tree Pose with one foot on the floor and the other on a chair seat.
- Keep sessions brief (2–3 minutes total). Use a visual timer showing 10–5–0 seconds.
3.8 Social Stories Focused on Self-Awareness
Materials: Short, individualized social stories (4–6 sentences per page) with simple illustrations or photos of the child.
Procedure:
- Identify a Target Skill: Example—“Noticing when I’m tired.”
- Create the Story:
- Page 1: “Sometimes I feel sleepy in the afternoon.” (Photo of child yawning)
- Page 2: “My eyes get heavy and I yawn a lot.” (Illustration of droopy eyes)
- Page 3: “When I notice these signs, I can tell my teacher, ‘I need a break.’” (Photo of child raising hand)
- Page 4: “Taking a quick walk makes me feel more awake.” (Photo of child walking)
- Page 5: “After I walk, I feel ready to learn again.” (Photo of child smiling at desk)
- Daily Reading: Review the story once in the morning and once before transition times.
- Immediate Praise: When the child self-reports fatigue, reinforce with a high-five or a “Feelings Champion” sticker.
Adaptation Notes:
- For minimally verbal children, rely on visuals and simple 2–3-word captions (“I am sleepy,” “I yawn,” “I ask for break”).
- Collaborate with parents to use the same story at home during afternoons.
4. Embedding Self-Awareness into Lesson Plans & Routines
Below is a sample weekly schedule integrating the strategies above. Adjust timeframes based on individual needs and classroom structures.
| Day | Block | Self-Awareness Activity | Materials & Visuals | Notes |
|---|---|---|---|---|
| Monday | Morning Circle | Emotion Thermometer Check-In (2 min) | Thermometer poster, clothespins | Students place clothespin on current feeling |
| Reading (Social Story) | Mirror Play: Identify “Happy” (3 min) | Handheld mirrors, happy/sad cards | Model emotion, then let each student try | |
| Tuesday | Math | Guided Body Scan (2 min) | Body-poster, pointer stick | Focus on head, shoulders, stomach zones |
| Writing | Emotion Word Bank Journal (4 min) | Body journal notebooks, colored pencils | Students draw how they felt during math | |
| Wednesday | Science | Video Modeling: “I’m Thirsty” (3 min) | Tablet with preloaded clip, simple captions | Teach interoceptive cue: thirst; role-play |
| SEL | Social Story: Noticing Worry (3 min) | Custom story pages with child’s photo | Read story, pause to label student’s current feelings | |
| Thursday | Art | Feelings Thermometer Review (2 min) | Thermometer poster | After painting, each student reports senses engaged |
| PE | Mindful Yoga: Tree & Child Poses (3 min) | Mats, pose cue cards | Encourage noticing balance shifts and how legs feel | |
| Friday | Morning Routine | Emotion Thermometer Check-In (2 min) | Same poster, move to independent placement | Fade adult prompt to encourage self-placement |
| Free Time/Projects | Body Journal Reflection (4 min) | Journals, word bank | “Draw one feeling from this week” |
Tip: Place all visual supports (thermometer, body-poster, yoga cues) on a central wall that children can refer to independently.
5. Tracking Progress & Measuring Success
5.1 Establishing Baselines
Before starting interventions, gather data on:
- Emotional Labeling Accuracy: Can the child correctly label at least two basic emotions (happy, sad, angry)?
- Interoceptive Awareness: Does the child request a break when physically uncomfortable (e.g., “my ears hurt”)?
- Self-Reporting Frequency: How often does the child spontaneously announce feelings before prompting? (e.g., 0–1 times/day)
5.2 Ongoing Data Collection
- Weekly Emotion Check Chart: Track how often each student’s emotion placement on the thermometer changes independently vs. with adult prompting.
- Journal Check: Count entries where the child drew or labeled a feeling. Aim for growth from 1 entry/week to 3 entries/week.
- ABC Log for Self-Reported Breaks: Note each time the child says “I need a break” when senses are overloaded, cataloguing antecedent, behavior, and consequence.
5.3 Team Reflection & Adaptation
At a weekly meeting, review data with the educational team (teacher, paraprofessional, SLP, OT, parents if possible):
- Which activities led to increased independent emotion labeling?
- Are some sensory strategies (e.g., yoga, mirror play) more effective for certain students?
- Do we need to adjust visuals—make them larger, simpler, or use different symbols?
Based on insights, modify next week’s plan: fade prompts where independence has emerged, introduce new visuals for students still struggling, or extend time on particularly effective activities.
5.4 Celebrating Growth
- Visual Reward Chart: Create a “Self-Awareness Star” board. Each time a student correctly labels an emotion or requests a needed break, place a star next to their name. After earning five stars, they select a small prize (sticker, preferred activity).
- Peer Recognition: During morning circle, highlight a child’s progress: “Yesterday, Maya noticed her heart was racing and asked for a break—great self-awareness!”
6. Tips for Parents, Educators, and Therapists
6.1 Consistent Language and Across-Setting Collaboration
- Shared Cues: Use the same phrases: “Where is your thermometer?” “Point to your body zone where it feels tight.” This continuity helps children generalize skills from school to home.
- Communication Logs: Keep a simple daily note summarizing which strategies worked at school and encourage parents to replicate them: “Today, Leo used mirror play to show ‘surprised’—maybe try this at home during morning routine.”
6.2 Adapting for Individual Needs
- Sensory-Seeking: Offer heavier handheld tools (stress balls or weighted stuffed animals) during body scans to deepen sensory feedback.
- Sensory-Avoidant: Provide a choice of light touch (feather) or no-touch options. If a child rejects touch entirely, rely more heavily on video modeling or emotion colors.
- Limited Communication: Equip students with an AAC “Feelings Board” featuring at least 8 emotion icons; teach them to point or tap “I feel ___.”
6.3 Embedding Self-Awareness in Daily Routines
- Mealtime Check-In: At breakfast or lunch, ask, “How does your body feel before eating? Are you hungry or full?” Use the emotion or body-poster to guide responses.
- Bedtime Reflection: Encourage children to name one feeling they experienced that day before bedtime—“I felt happy when I played with friends” or “I felt tired after lunchtime.”
6.4 Professional Development and Resources
- Workshops: Seek training on interoception in autism (some occupational therapists specialize in this).
- Apps and Tools: Use apps like Mood Meter Kids or Zones of Regulation that provide interactive visuals and prompts to identify feelings and bodily states.
- Peer Collaboration: Connect with other teachers or parent groups—exchange successful materials, templates, and insights.
7. Addressing Common Challenges and Pitfalls
7.1 Difficulty Generalizing Skills
Pitfall: A child labels “I’m stressed” at school but not at home.
Solutions:
- Use identical visuals and scripts at both settings. Send laminated copies of each visual tool home.
- Conduct brief video calls during home practice sessions to guide parents in real time.
7.2 Resistance to Reflection
Pitfall: Children refuse to look in mirrors or engage in body scans.
Solutions:
- Offer alternative modalities—use a tablet camera instead of a mirror.
- Reduce complexity: ask only one question (e.g., “Is your heart beating fast or slow?”) rather than scanning multiple zones.
- Pair reflection with a preferred activity—“After you show me your happy face in the mirror, you get to play with LEGOs for 2 minutes.”
7.3 Overwhelm from Too Many Cues
Pitfall: Too many charts, cards, and posters cause confusion rather than clarity.
Solutions:
- Start with one central visual (e.g., emotion thermometer). Introduce additional tools gradually—one per week—once mastery occurs.
- Use a binder or visual folder that children can carry, containing only 2–3 relevant pages at a time (body scan page and emotion scale).
7.4 Inconsistent Reinforcement
Pitfall: Adults forget to praise or record self-awareness successes, leading to stagnation.
Solutions:
- Keep a visible “Self-Awareness Log” near the teaching station—each adult places a tally when a student self-reports or labels an emotion.
- Set phone/tablet alarms for brief reminders (“2:00 PM—Emotion Check-In!”) so check-ins happen reliably.
8. Long-Term Benefits of Fostering Self-Awareness
8.1 Improved Emotional Regulation and Fewer Meltdowns
As students learn to notice early cues—tight chest, shallow breaths—they can intervene with coping strategies before emotions spiral. Over months, many classrooms report fewer severe outbursts and quicker recovery times.
8.2 Enhanced Social Skills and Peer Relationships
Self-aware children recognize when they’re upset and can seek support instead of lashing out. This clarity reduces misunderstandings: peers learn that “Jimmy is quiet because he’s tired,” not because he’s ignoring them. Friendships deepen when children can discuss their feelings.
8.3 Increased Academic Engagement and Independence
A student who notices, “My stomach feels weird, I’m hungry,” can request a snack or a brief break—avoiding off-task behavior. Over time, students initiate these requests independently, allowing teachers to focus on instruction rather than constant monitoring.
8.4 Stronger Self-Advocacy Skills
By middle school, self-aware students can articulate: “I need breaks every 30 minutes” or “Bright lights bother my eyes; may I wear sunglasses?” This empowerment leads to better mental health outcomes and smoother transitions into adulthood.
9. Sample Self-Awareness Lesson Plan Outline
Below is a scaffolded 45-minute lesson plan for a small-group autism support classroom that weaves in the strategies above. Adjust timing and materials based on class size and individual needs.
- Warm-Up & Visual Check-In (5 minutes)
- Activity: Emotion Thermometer Check
- Materials: Thermometer poster, clothespins
- Procedure: Each student places their clothespin on the color/face matching their current feeling and verbally labels it or points to the icon.
- Guided Body Scan (5 minutes)
- Activity: Notice Three Zones (Head, Shoulders, Stomach)
- Materials: Body-poster, pointer
- Procedure: Teacher guides a brief scan—“Is your head tight or loose?”—with two-choice cards. Three zones only to maintain brevity.
- Mirror Play & Emotion Identification (7 minutes)
- Activity: “Show Me Happy” and “Show Me Sad”
- Materials: Handheld mirrors, happy/sad cards
- Procedure: Teacher models expressions, students mimic and match to cards. Each child names a time they felt that emotion in one sentence (or via AAC).
- Video Modeling Segment (5 minutes)
- Activity: Watch Clip on “I’m Scared Because…”
- Materials: Tablet with preloaded 30-second video clip, captions
- Procedure: Pause after each phrase to ask: “What did she say about her stomach?” “Why did she feel scared?” Students respond verbally or with AAC.
- Sensory Break & Reflection (10 minutes)
- Activity: Mindful Movement—Cat-Cow Pose and Feather Touch
- Materials: Yoga mats, feather
- Procedure: Guide students through Cat-Cow; after each movement, ask them to identify what they feel (“My back stretches, I feel calm”). Then lightly brush forearms with a feather and ask if it feels cool or ticklish.
- Body Journal Drawing (8 minutes)
- Activity: Draw a Feeling from the Morning
- Materials: Body journal notebooks, colored pencils, emotion word bank
- Procedure: Students draw a face or body zone showing one feeling they had earlier (e.g., frustration during math). They place one sticker on their drawing for recognition of effort.
- Closing & Preview (5 minutes)
- Activity: End-of-Day Thermometer Check & Tomorrow’s Activity Preview
- Materials: Thermometer poster, social story excerpt visual
- Procedure: Each student updates their clothespin. Teacher previews tomorrow’s topic—“Tomorrow we will learn ‘I feel proud when…’” using a simple two-sentence social story.
Tip: Notify paraprofessionals of their roles—who guides the body scan, who circulates during journal time to provide support—so transitions are smooth.
10. Conclusion
Improving self-awareness in children with autism lays the groundwork for emotional regulation, social understanding, and academic engagement. By using concrete, multimodal approaches—guided body scans, emotion thermometers, mirror play, video modeling, and sensory-based journaling—educators and parents can help young learners identify what they feel, where they feel it, and how to respond effectively. Key principles include brevity, repetition, and embedding activities within daily routines so skills generalize across settings.
Regular tracking of progress ensures interventions remain effective and tailored. As students become more attuned to their internal cues, they gain confidence to self-advocate (“I need a break,” “My hands feel shaky”) and build stronger peer connections through empathy and perspective-taking. Over time, enhanced self-awareness translates into fewer meltdowns, improved focus, and greater independence—transforming each child’s ability to navigate academic and social landscapes successfully.
By starting small—perhaps with a two-minute emotion thermometer check—and gradually layering additional strategies, you set autistic children on a path toward deeper insight into their own minds and bodies. Consistency, collaboration across home and school, and a commitment to individualized adaptations will yield lasting benefits. Ultimately, fostering self-awareness is not just an educational goal; it is a vital life skill that empowers autistic learners to thrive.